
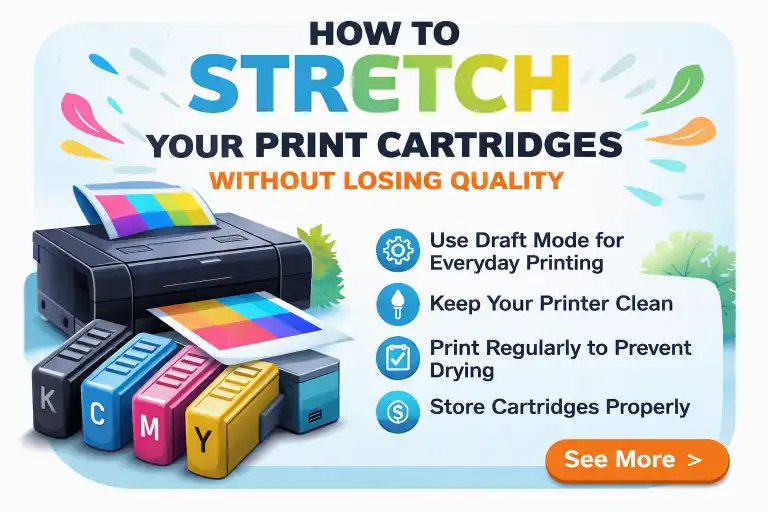
The home office printer often feels like a paradox: it is an essential piece of hardware that seems designed to drain your bank account through the relentless consumption of ink.
While the modern printer is a marvel of engineering, the underlying business model often prioritizes the sale of consumables over hardware longevity.
If you have ever felt like you are spending more on a single ink cartridge than you did on the printer itself, you are not alone.
Stretching your ink supply is not just about choosing “Draft” mode; it is about understanding the mechanical realities of the machine and changing your interaction with your hardware to preserve the life of your supplies without compromising the professional appearance of your work.
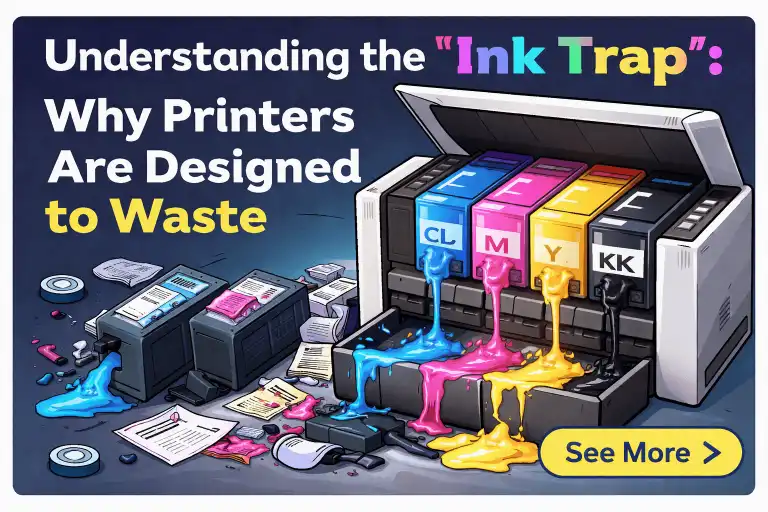
Understanding the “Ink Trap”: Why Printers Are Designed to Waste
The Razor-and-Blade Business Model of Home Printing
The home printing industry operates on the “razor-and-blade” model, where hardware is sold at or below cost to ensure the manufacturer captures long-term revenue through proprietary ink cartridges.
This design philosophy influences how printers manage ink internally.
The goal is to keep you in the cycle of buying replacements, which is why printers often err on the side of “maintenance” rather than efficiency.
The Technical Difference Between Liquid Ink and Toner Efficiency
Liquid inkjet printers use tiny nozzles to spray ink onto paper. Because the ink is liquid, it is prone to drying and clogging, necessitating internal cleaning cycles. Laser printers, by contrast, use powdered toner that does not dry out. Understanding this distinction is vital. If you own an inkjet, you are fighting a constant battle against the evaporation and thickening of fluid within the printhead, whereas laser users are primarily managing toner distribution and transfer efficiency.
Why “Low Ink” Doesn’t Always Mean Empty
Manufacturers often calibrate “low ink” warnings to trigger well before the cartridge is actually empty.
This is a safety margin designed to prevent the printer from running dry which is a state that can damage the printhead.
However, these sensors are often based on page count estimates rather than physical ink levels, meaning you are frequently prompted to replace a cartridge that still contains a significant amount of usable ink.
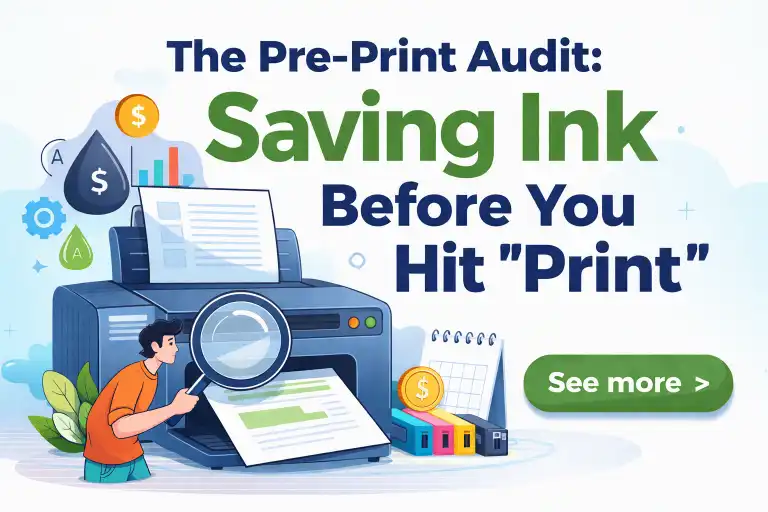
The Pre-Print Audit: Saving Ink Before You Hit “Print”
Choosing Ink-Efficient Fonts: The Impact of Calibri, Arial, and Times New Roman
Font choice has a profound impact on ink consumption.
A font like Arial is bold and heavy, requiring more ink to render each character.
By contrast, fonts like Garamond or Century Gothic feature thinner lines and lighter strokes.
Switching your default document font to one of these cleaner alternatives can reduce your ink usage by 10% to 20% over the life of the cartridge.
Using “Eco-fonts” and Reducing Font Size for Internal Documents
For internal notes or reference documents, you do not need 12-point text.
Reducing your font size to 10 points or utilizing “eco-fonts” specifically designed to minimize surface area can save significant amounts of ink.
These small changes compound over time, especially when printing long reports that are not intended for final public presentation.
Stripping the Bloat: Using PrintFriendly and Browser Extensions to Remove Ads
Web pages are notoriously inefficient for printing.
They contain bulky headers, sidebars, and ads that serve no purpose on a printed document.
Use browser extensions like PrintFriendly to strip away these elements before printing.
This practice ensures you only print the text and images you actually need, saving your ink cartridge from unnecessary labor.
The Essential Print Preview: Catching Formatting Errors and Unnecessary Pages
Always use the Print Preview feature.
Often, a single sentence will bleed onto an extra page, or a blank page will be included in the print job.
Checking the preview allows you to delete unnecessary pages, adjust margins, and ensure the document layout is as efficient as possible before the printer begins its work.
Mastering Your Printer Settings for Every Task

Draft Mode vs. Standard Mode: When to Prioritize Speed Over Depth
“Draft” or “Economy” mode is your greatest ally for internal documents.
This setting intentionally uses fewer dots per inch (DPI) to create the text. While it is not suitable for high-resolution photography or final contracts, it is perfectly readable for daily reference.
By moving away from “Standard” or “High” quality settings for every task, you significantly extend the life of your ink.
Grayscale Printing: Preventing Your Printer from Mixing Colors to Create Black
Many color printers create “composite black” by mixing cyan, magenta, and yellow.
This is an incredibly wasteful process that depletes your color ink even when you are only printing black text.
Force your printer to use its dedicated black ink cartridge by selecting “Grayscale” or “Black Ink Only” in your print options.
Resolution and Image Size: Adjusting PPI for Non-Essential Graphics
High-resolution images consume immense amounts of ink.
If you are printing a document that contains web-quality images, ensure your print settings are not forcing the printer to process data at an unnecessary 600 or 1200 DPI.
Scaling down the resolution for non-essential graphics will save ink without ruining the visual readability of the document.
Utilizing Multiple Pages Per Sheet for Internal Reviews and Presentations 🖨️
The “N-up” setting, which allows you to print multiple pages of a document onto a single sheet of paper, is a powerful conservation tool.
This is ideal for proofreading or reviewing drafts. It effectively halves or quarters the ink used for the entire document while keeping the content legible.
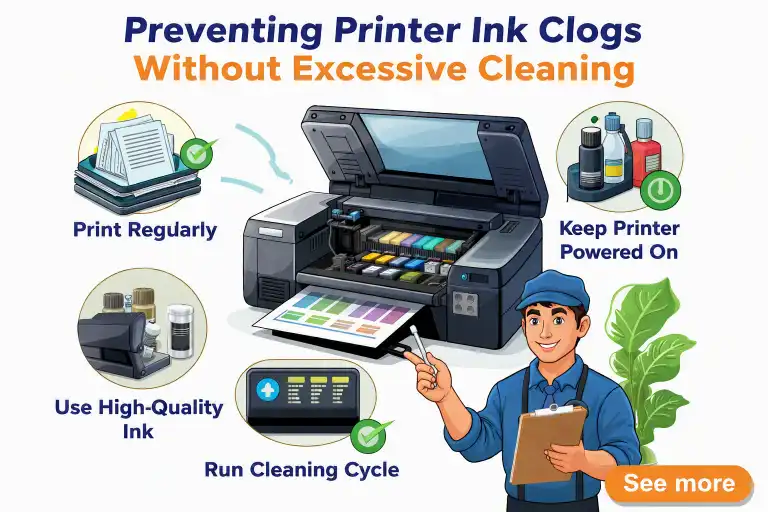
Technical Maintenance: Preventing Clogs Without Excessive Cleaning
The Science of Clogs: How Drying and Micro-particle Clogging Occur
Clogs happen when residual ink dries in the microscopic nozzles of the printhead. This is often caused by infrequent use.
When the printer sits idle, the moisture evaporates, leaving behind a semi-solid residue that blocks future ink flow.
Understanding this process helps you focus on prevention rather than reaction.
Why You Should Avoid Over-Cleaning: The Hidden Cost of the Cleaning Cycle
A printer’s automated “Deep Clean” or “Head Cleaning” cycle is a massive ink-wasting event.
The printer forcefully pulls ink through the nozzles to clear a suspected clog. Often, this is unnecessary.
Do not rely on automated maintenance unless you notice physical issues with your prints. A “clean” cycle can consume as much ink as dozens of standard pages.
Performing a Manual Nozzle Check and Printhead Alignment
If your prints appear streaky, perform a manual “Nozzle Check” through the printer’s software.
This prints a test pattern that identifies exactly which nozzles are blocked. Only after confirming a specific blockage should you consider a cleaning cycle, and even then, only for the specific color affected, rather than a full-system purge.
Keeping the Printhead Moist During Long Periods of Inactivity
The best way to prevent clogs is regular use. Print a single test page once a week to keep the ink flowing.
If you are going on vacation, keep the printer in a cool, stable environment. High heat promotes evaporation, which is the primary driver of clogs in the printhead assembly.
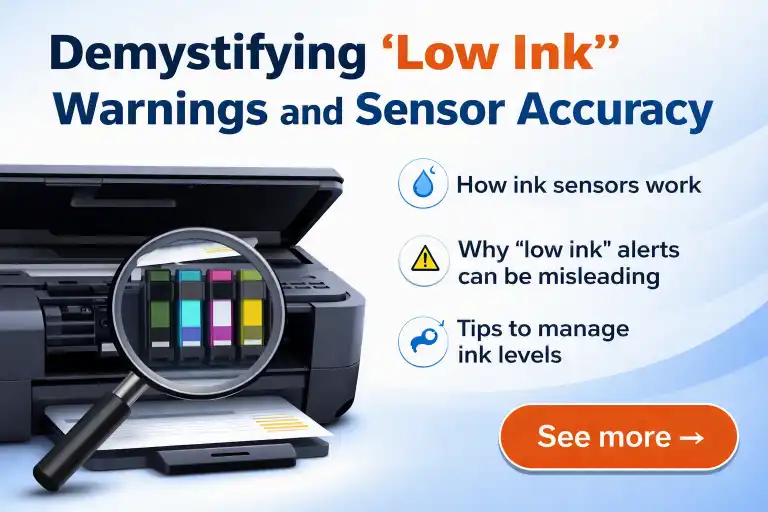
Demystifying “Low Ink” Warnings and Sensor Accuracy
How Cartridge Chips and Optical Sensors Trigger Early Alerts
Most modern cartridges have microchips that track estimated usage. These chips are conservative by design.
When they report that a cartridge is low, they are usually guessing based on the number of pages printed and the complexity of those pages.
They rarely measure the physical liquid level.
The “Visual Inspection” Test: How to Tell if a Cartridge is Truly Depleted
If your printer reports that the ink is low, ignore the prompt. Continue printing until you see a genuine degradation in print quality such as faded colors or missing text.
A visual inspection of the printout is the only true way to determine if a cartridge is empty.
Troubleshooting Streaky or Faded Prints vs. Actual Ink Depletion
Don’t confuse a clog with an empty cartridge. If your page is streaky, you have a maintenance issue.
If your page is completely blank or severely faded in a specific color, you are likely out of ink. Troubleshooting this distinction prevents you from throwing away half-full cartridges.
Safe Methods for Overriding Printer Error Messages to Access “Hidden” Ink
Most printers allow you to override “low ink” alerts by selecting “Continue” or “OK” on the warning prompt.
Research your specific model’s bypass procedure. This small step can often yield another 50 to 100 pages of printing from a cartridge that the software insisted was empty.
Physical Care and Environmental Storage Conditions

Protecting Electrical Contacts from Oils and Fingers During Installation
When handling a cartridge, avoid touching the copper electrical contacts.
The natural oils from your skin can interfere with the connection between the cartridge and the printer, causing error messages or faulty print quality that might lead you to believe the cartridge is defective.
Ideal Storage: Why Heat, Water, and Direct Sunlight are Ink’s Enemies
If you buy extra ink, store it in a cool, dark place.
Sunlight and high heat can degrade the chemical composition of the ink, leading to clogging and color shifts.
Proper storage ensures that when you finally do open a new cartridge, it is in optimal condition.
The Role of Protective Tape and Proper Cartridge Resealing
Always keep the protective tape or clips on your spare cartridges until the moment of installation.
These seals prevent the ink from drying out while in storage.
If you must remove a cartridge for any reason, seal it in an airtight plastic bag to keep the printhead moist.
Proper Cartridge Installation to Prevent Leaks and Air Bubbles
Ensure the cartridge “clicks” into place firmly.
Improper installation can introduce air bubbles into the ink delivery system, which causes intermittent print quality issues and can lead to the printer incorrectly flagging the cartridge as damaged.
Conclusion
Stretching your printer ink is less about cutting corners and more about managing your printing environment with intent.
By treating the cartridge as a finite resource and adjusting your habits from font selection and draft settings to avoiding unnecessary cleaning cycles will allow you to significantly extend the lifespan of your supplies.
The goal is to move away from the reactive, “replace and discard” cycle imposed by manufacturers and toward a more conscious, efficient approach to document creation.
Start by implementing a pre-print audit for your daily tasks, ignore the premature “low ink” alerts, and focus on consistent, low-volume usage to prevent the drying issues that necessitate wasteful maintenance.
By mastering these variables, you will notice a marked improvement in your printing efficiency, saving money while maintaining the professional print quality you expect.
Consistency is the key to long-term success; adopt these small adjustments today, and your printer will serve you faithfully for years to come.
