Easy Steps to Replace Toner in Your Brother Printer
In today’s fast-paced digital world, printers are an essential part of our daily lives.
From printing important documents to capturing memories through photographs, printers play a crucial role in our personal and professional lives.
One of the most popular and trusted printer brands in the market is Brother.
Known for their high-quality and reliable printing solutions, Brother printers are a top choice for many individuals and businesses.
However, like any other printer, Brother printers require regular maintenance to ensure optimal performance.
One important aspect of printer maintenance is replacing toner cartridges.
Toner is the ink used in laser printers to produce high-quality prints.
As the toner runs out, it needs to be replaced to continue producing clear and crisp prints.
If you own a Brother printer and are looking for an easy and hassle-free way to replace toner, you have come to the right place.
In this article, we will guide you through Easy Steps to Replace Toner in Your Brother Printer, allowing you to maintain your printer’s efficiency and produce professional-looking prints.
So, let’s get started!
Table of Contents Easy Steps to Replace Toner in Your Brother Printer
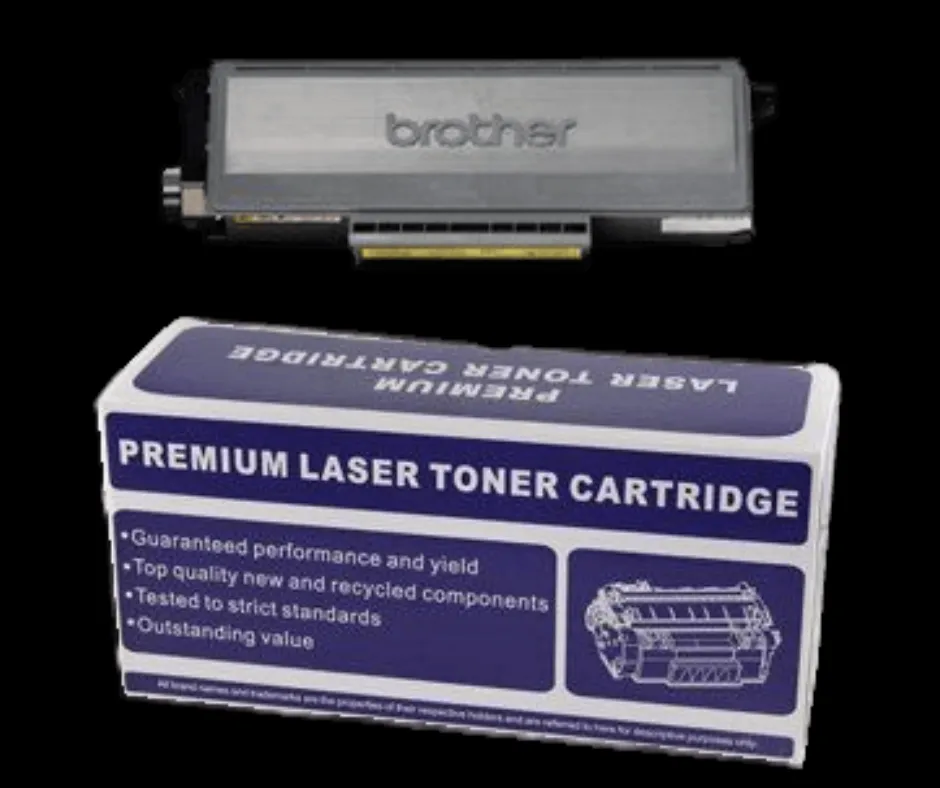
Prepare new toner cartridge correctly
To ensure the proper functioning and longevity of your Brother printer, it is crucial to prepare and install a new toner cartridge correctly.
Begin by powering off the printer and unplugging it from the electrical outlet.
Carefully open the printer’s front cover, taking note of any instructions or diagrams provided in the printer’s manual.
Gently remove the expended toner cartridge from its slot, being cautious not to spill any toner powder.
Before inserting the new cartridge, give it a gentle shake from side to side to distribute the toner evenly.
Align the new cartridge with the designated slot and carefully push it in until it clicks into place.
Finally, close the printer’s front cover and power the printer back on.
By following these steps, you can ensure a smooth and efficient replacement of the toner cartridge in your Brother printer, optimizing print quality and minimizing any potential issues.
Remove old toner cartridge carefully
When it comes to removing the old toner cartridge from your Brother printer, it is essential to exercise caution and precision.
Begin by turning off the printer and disconnecting it from the power source.
Refer to the printer’s manual or any provided instructions for specific guidance on cartridge removal.
Open the printer’s front cover carefully, ensuring not to force or apply excessive pressure.
Take your time to locate the old toner cartridge within the printer.
Hold it firmly by the handles or designated grip points and gently pull it out, following any specified direction or angle to avoid any potential damage or toner leakage.
Once the old cartridge is successfully removed, place it in a safe and proper disposal container, adhering to any local regulations or guidelines.
By handling the removal process with care and attention to detail, you can maintain the integrity of your Brother printer and ensure a successful replacement of the toner cartridge.
Clean the printer before installation
To ensure optimal performance and print quality, it is important to clean the printer before installing a new toner cartridge in your Brother printer.
Dust, debris, and accumulated toner residue can affect the functionality and lifespan of the printer components.
Begin by turning off the printer and unplugging it from the power source.
Using a soft lint-free cloth or a small brush specifically designed for printer cleaning, gently wipe the exterior surfaces of the printer to remove any dust or debris.
Pay close attention to areas around the cartridge compartment and paper tray.
For stubborn residue, you may use a mild, non-abrasive cleaning solution recommended by the printer manufacturer.
Avoid using harsh chemicals or excessive moisture, as these can damage the printer.
Once the cleaning process is complete, allow the printer to dry thoroughly before proceeding with the toner cartridge installation.
Taking these steps to clean your printer will help ensure smooth operation and prolong the life of your Brother printer.
Install new toner cartridge correctly
To properly install a new toner cartridge in your Brother printer, follow these easy steps.
First, locate the cartridge compartment on your printer.
Depending on the model, it may be accessible from the front or back of the printer.
Carefully open the compartment cover, ensuring not to force it open or damage any surrounding components.
Next, remove the empty or old toner cartridge by gently pulling it towards you.
Be cautious not to spill any toner or touch the imaging drum.
Properly dispose of the old cartridge according to local regulations.
Now, take the new toner cartridge out of its packaging and shake it gently from side to side to distribute the toner evenly.
Remove any protective covers or seals from the cartridge, taking care not to touch the green drum surface.
Align the new cartridge with the guides inside the compartment and firmly push it in until it clicks into place.
Close the compartment cover securely.
Finally, plug in the printer and turn it on.
The printer will automatically recognize the new cartridge and initiate a calibration process.
Now you’re ready to enjoy high-quality prints with your newly installed toner cartridge.
Test print quality after installation
After successfully installing the new toner cartridge in your Brother printer, it is essential to test the print quality to ensure optimal performance.
Start by selecting a test document or image with various colors and text elements.
Print a sample page and carefully examine the output for any signs of smudging, streaking, or faded areas.
Pay close attention to the clarity of text and the vibrancy of colors.
If you notice any issues, such as uneven or distorted printing, it may indicate an installation problem or a need for further troubleshooting.
In such cases, refer to the printer’s user manual or contact Brother’s customer support for assistance.
By verifying the print quality after installation, you can ensure that your Brother printer continues to deliver exceptional results for all your printing needs.
In conclusion, replacing the toner in your Brother printer is a simple and straightforward process that can be easily done by following a few steps.
Not only will it ensure the quality and longevity of your printer, but it will also save you time and money in the long run.
By following these easy steps, you can keep your Brother printer running smoothly and efficiently.
Remember to always refer to your printer’s manual for specific instructions and to handle the toner cartridge with care.
We hope this guide has been helpful and wish you happy printing!
FAQ
What tools do you need to replace the toner in a Brother printer?
To replace the toner in a Brother printer, you typically need the new toner cartridge specifically designed for your printer model, gloves to prevent smudges, a lint-free cloth for cleaning, and possibly a screwdriver or other tool to access the toner compartment depending on the printer model.
It’s also helpful to have the user manual for guidance on the replacement process.
Can you provide a step-by-step guide on how to replace the toner in a Brother printer?
To replace the toner in a Brother printer, first, open the front cover.
Then, remove the old toner cartridge by pressing down on the green lock lever and pulling it out.
Next, unpack the new toner cartridge, gently shake it from side to side, and remove the protective cover.
Insert the new cartridge into the printer until it clicks into place.
Finally, close the front cover and run a test print to ensure the installation was successful.
Are there any precautions or safety measures to keep in mind when replacing the toner in a Brother printer?
When replacing toner in a Brother printer, it is important to handle the toner cartridge carefully to avoid spills or inhalation of toner dust which can be harmful.
Make sure to turn off the printer and wait for it to cool down before replacing the toner to prevent burns.
Follow the manufacturer’s instructions carefully, and wear gloves or wash hands thoroughly after handling the toner.
Properly dispose of the old toner cartridge and keep new cartridges in a cool, dry place.
Always use genuine Brother toner cartridges to maintain printer performance and avoid damage.
How often should the toner in a Brother printer be replaced?
The frequency of replacing toner in a Brother printer depends on usage.
Generally, it is recommended to replace the toner when the “low toner” warning appears or when print quality begins to decline.
For regular home use, this may be every 3-6 months, while for heavy business use, it may be more frequent.
It is advisable to keep a spare toner on hand to avoid interruptions in printing.
Are there any troubleshooting tips if the toner replacement process does not go smoothly in a Brother printer?
If the toner replacement process does not go smoothly in a Brother printer, some troubleshooting tips include ensuring the toner cartridge is installed correctly, cleaning the corona wire, and resetting the printer.
Additionally, checking for any error messages on the printer’s display, updating the printer’s firmware, and contacting Brother customer support for further assistance can also help resolve the issue.


